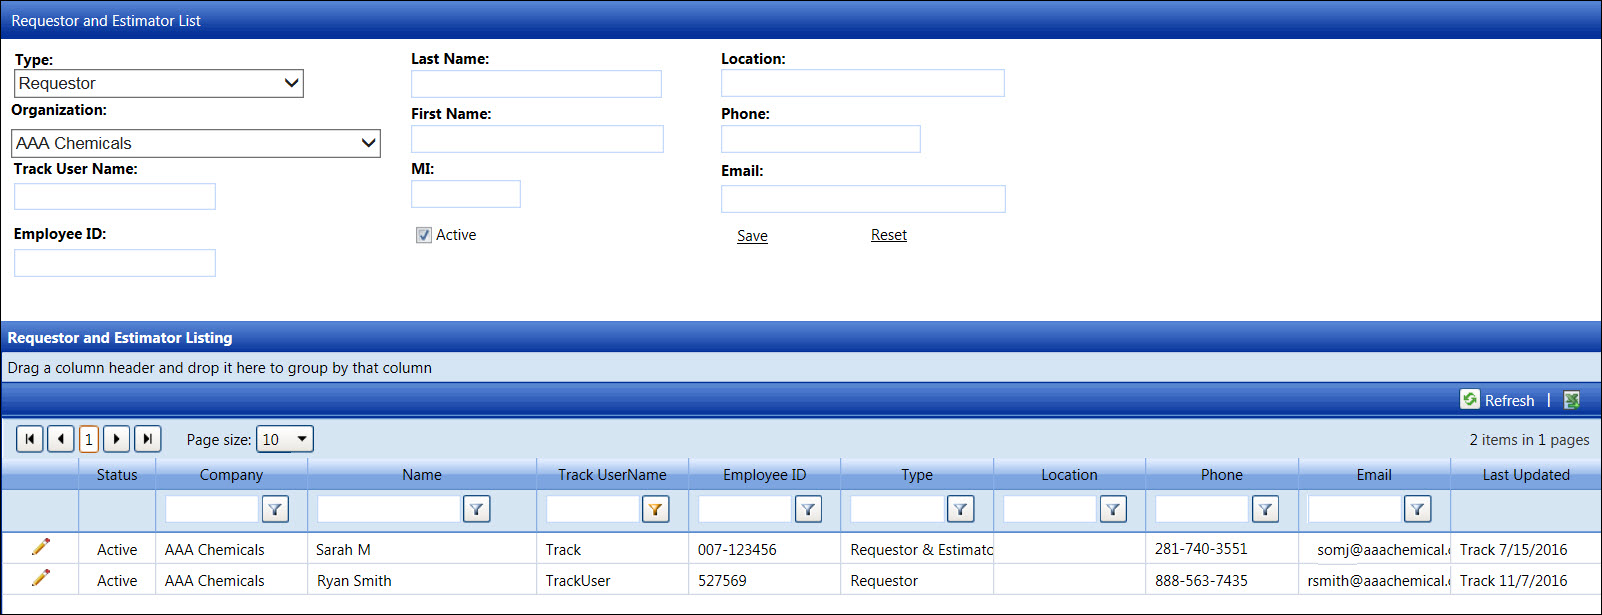
The Employee ID, Last Name, First Name, Phone, and Email text boxes
are mandatory fields. The employee ID cannot be edited after the record
is saved. Requestor, estimator, administrator, or requestor and estimator
also cannot be deleted. However, user can set their records to have an
inactive status.
From the Requestor and Estimator List screen, select Requestor,
Estimator, Administrator,
or Requestor & Estimator
option from the Type drop-down
list.
Select an organization from the Organization
drop-down list.
Enter a Track user name into the Track
User Name text box.
Remember that the employee ID cannot be edited after the record
is saved. Enter an employee ID into the Employee
ID text box.
Enter a last name, first name, and middle initial into the Last Name, First
Name, and MI text boxes.
The Active checkbox
is selected by default. Proceed to the next step.
Enter a location into the Location
text box.
Enter a phone number and e-mail into the Phone
and Email text boxes.
Click Save to save and
display the information in the Requestor or Estimator Listing. The
type of record is displayed under the Type column.